 There’s something that’s always bothered me about homemade cookies: they taste… homemade. They are missing that “something special” that cookies from the bakery have. If I’m going to go through all the trouble of baking cookies, I want them to taste as good as the bakery makes them. It ought to be possible — I mean I’m starting from scratch with just a pile of ingredients just like a bakery would. Yet somehow homemade cookie recipes always lack that lightness and yumminess that comes from a good bakery.
A few years ago, I was in Bruce’s Bakery in Great Neck (reviews) and they had the most wonderful thing — an actual book with the recipes of how THEY made things. Aha! Now it all makes sense! They’re using the same ingredients, but not always in the same ways — and that makes all the difference.
In this recipe for Homemade Sugar Cookies, they use powdered sugar (confectioners’ sugar, or as I have always called it “Pow! Dead!” sugar) to make the cookie have a light texture and then sprinkle regular sugar on top to give it bright crunchy sparkles. Read on for the recipe and photos!
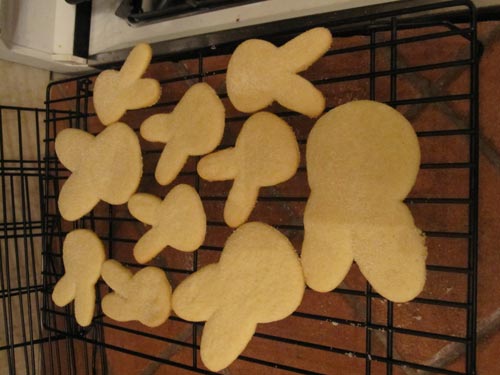
The Ingredients:
- 1 1/2 Cups Confectioners’ Sugar, Sifted
- 1 Cup (2 Sticks) Unsalted Butter, Softened
- 1 Egg
- 2 Teaspoons Almond Extract
- 2 1/2 Cups All-Purpose Flour
- 1 Teaspoon Baking Soda
- 1 Teaspoon Cream of Tartar
- 1 Cup Granulated Sugar
The oven needs to be preheated to 375° F — however the dough needs to chill for an hour before you can roll it out, so you don’t need to start the oven right away (unless it’s freezing in your kitchen).
Important to remember that this dough needs to chill — so you can’t make these cookies when you’re in a rush.

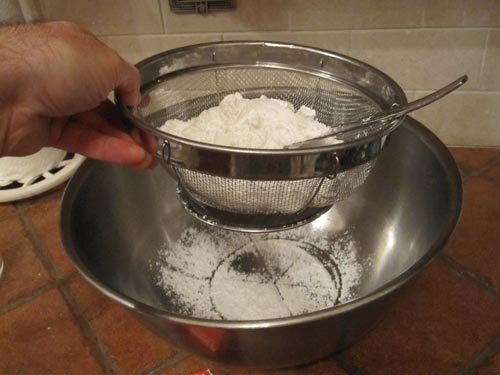
I put the confectioners’ sugar through a colander to sift it. Seems to work. I use the spoon to keep moving it around until it has all passed through.
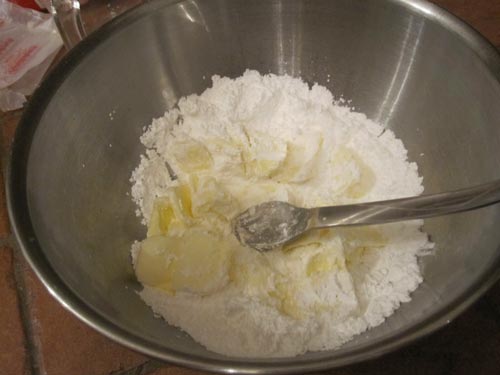
I then mash the butter into the sugar a bit before applying the mixer. This helps prevent a large sugar “dust cloud” from forming.
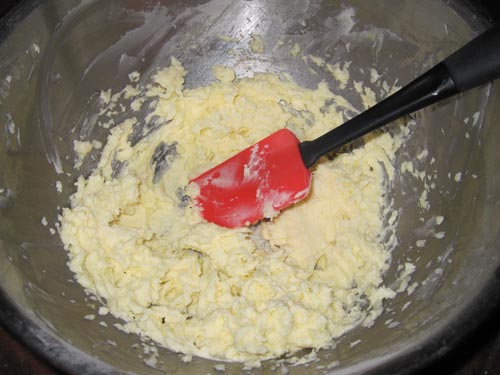
Beat together the confectioners’ sugar and butter until light and fluffy.

Add the egg and almond extract and beat well. (This is where the “Almond YUM!” comes in!)

I love these modern spatulas for being able to scrape everything down from the sides of the bowl and mix it all in.
Yes, I keep my flour in a tub marked “flower” — I know what I mean.

In a small bowl, stir together the flour, baking soda, and cream of tartar. I didn’t have another bowl handy so I used this CorningWare thing instead. I’ll distract you by asking “What is cream of tartar?” Like are there little tartar animals and they grind them up? I don’t know. Maybe I don’t want to know.

Gradually add this new powder concoction to the creamed mixture. I add a little bit at a time and hand mix it in first (again to avoid a big dust cloud) before using the mixer to actually mix it.

And there you have your cookie dough. Now it’s time to chill.
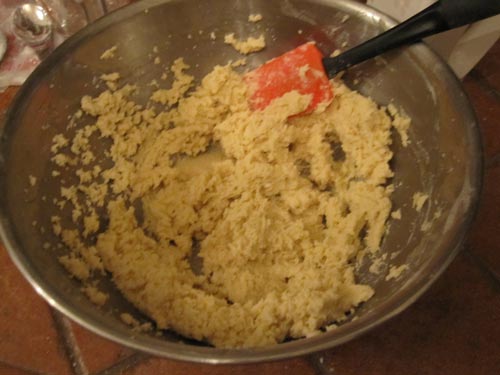
Divide the dough in half and form each half into a ball. Flattern the balls of dough into disk shapes and wrap separately (I used wax paper). Refrigerate for one hour, until chilled.
Some time around now is probably when you’ll want to get your oven pre-heating.

I tape wax paper down to the counter top and then flour it up so that the dough doesn’t stick.
Don’t forget about pre-heating that oven!
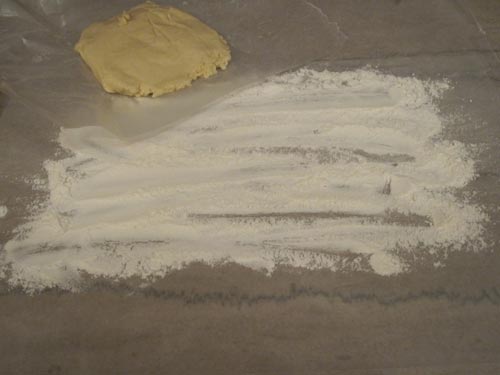
I use a sheet of wax paper under the rolling pin to keep the dough from sticking to it.

Roll the dough out to 1/4 inch thickness. Then cut it into your favorite shapes. Sometimes I freestyle with a knife, today I’m making big and little bunnies.
It’s important to roll these out to be a thick like this, otherwise they burn easily and are much too thin.

I also like to make different ear shapes. Leave some room between the cookies when you put them on the sheet — they tend to spread.

Before you bake, you sprinkle the cookies with granulated sugar.

I tend to just grab some sugar and sprinkle it around. Some hits, some misses.
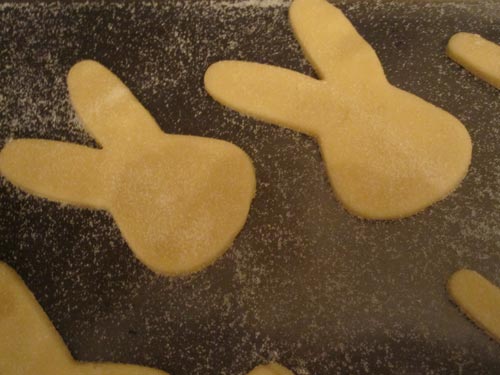
Bake on ungreased baking sheets for 5 to 8 minutes, or until lightly browned at the edges. I’ve always done them at exactly 8 minutes (but I tend to make them pretty thick). Also note how much they spread — leave some room between them when you’re laying them out or you’ll just have one BIG cookie.
When you take them out of the oven, spinkle more sugar on them. Let them cool on the baking sheets for 2 minutes, then remove to a wire rack and cool completely.

While they’re cooling, start prepping the next batch. Even a single batch of these makes a lot of cookies so I usually use two cookie sheets — one is baking while I’m rolling and cutting out cookies and placing them on the other.

You can see here how much these spread — they aren’t the sharp bunny outlines anymore.

And here’s some with funny ears.
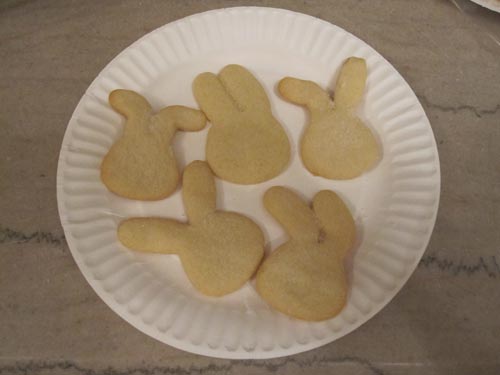
If this book is flawed in any way, it’s that it is all text with no photos. So you can’t look at what the cookies are supposed to be before you make them. You just have to trust that they’ll be yummy.
Bruce’s Bakery Cookbook is available on amazon.
Added December 31, 2010
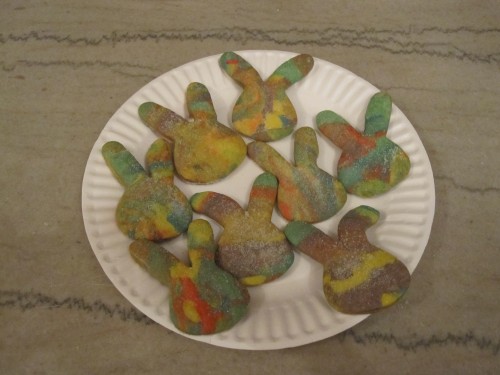
There’s also the option to make them crazy tie-dyed bunnies…
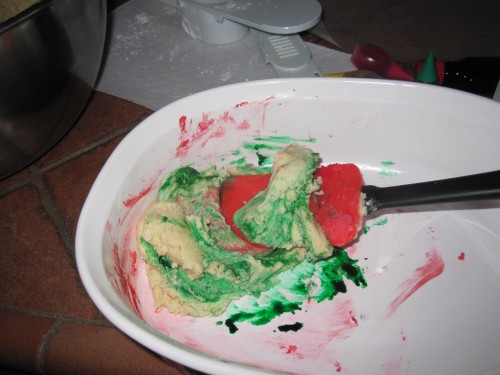
Adding in the food coloring — I don’t even want to think about what red food dye comes from…

Yay – green!
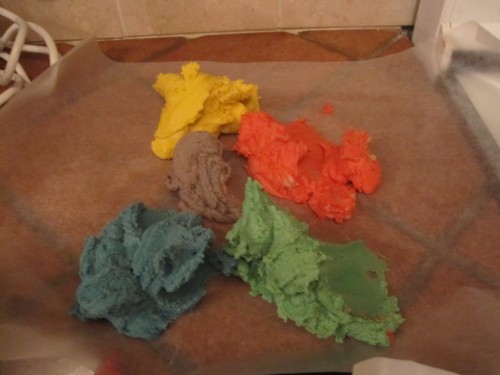
The finished lumps
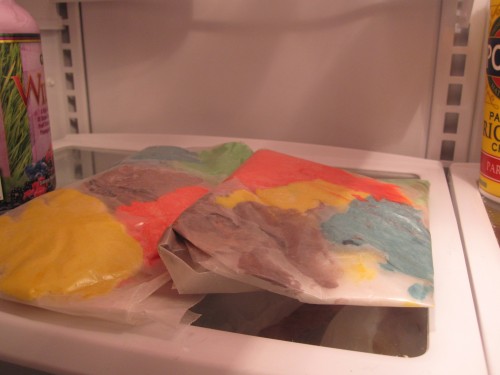
Go into the refrigerator
Cooled and rolled out into tubes

Flattened

Where are the bunnies???
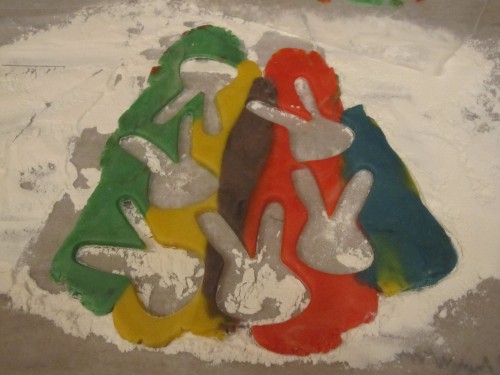
There they are!!!

As you keep re-using the leftover pieces of dough, the colors blur just like Play-Doh. And they still taste good… just like Play-Doh.

Finished cookies – an early batch

Finished cookies – a later batch
You must be logged in to post a comment.